THE TRUNK OF PILAR II
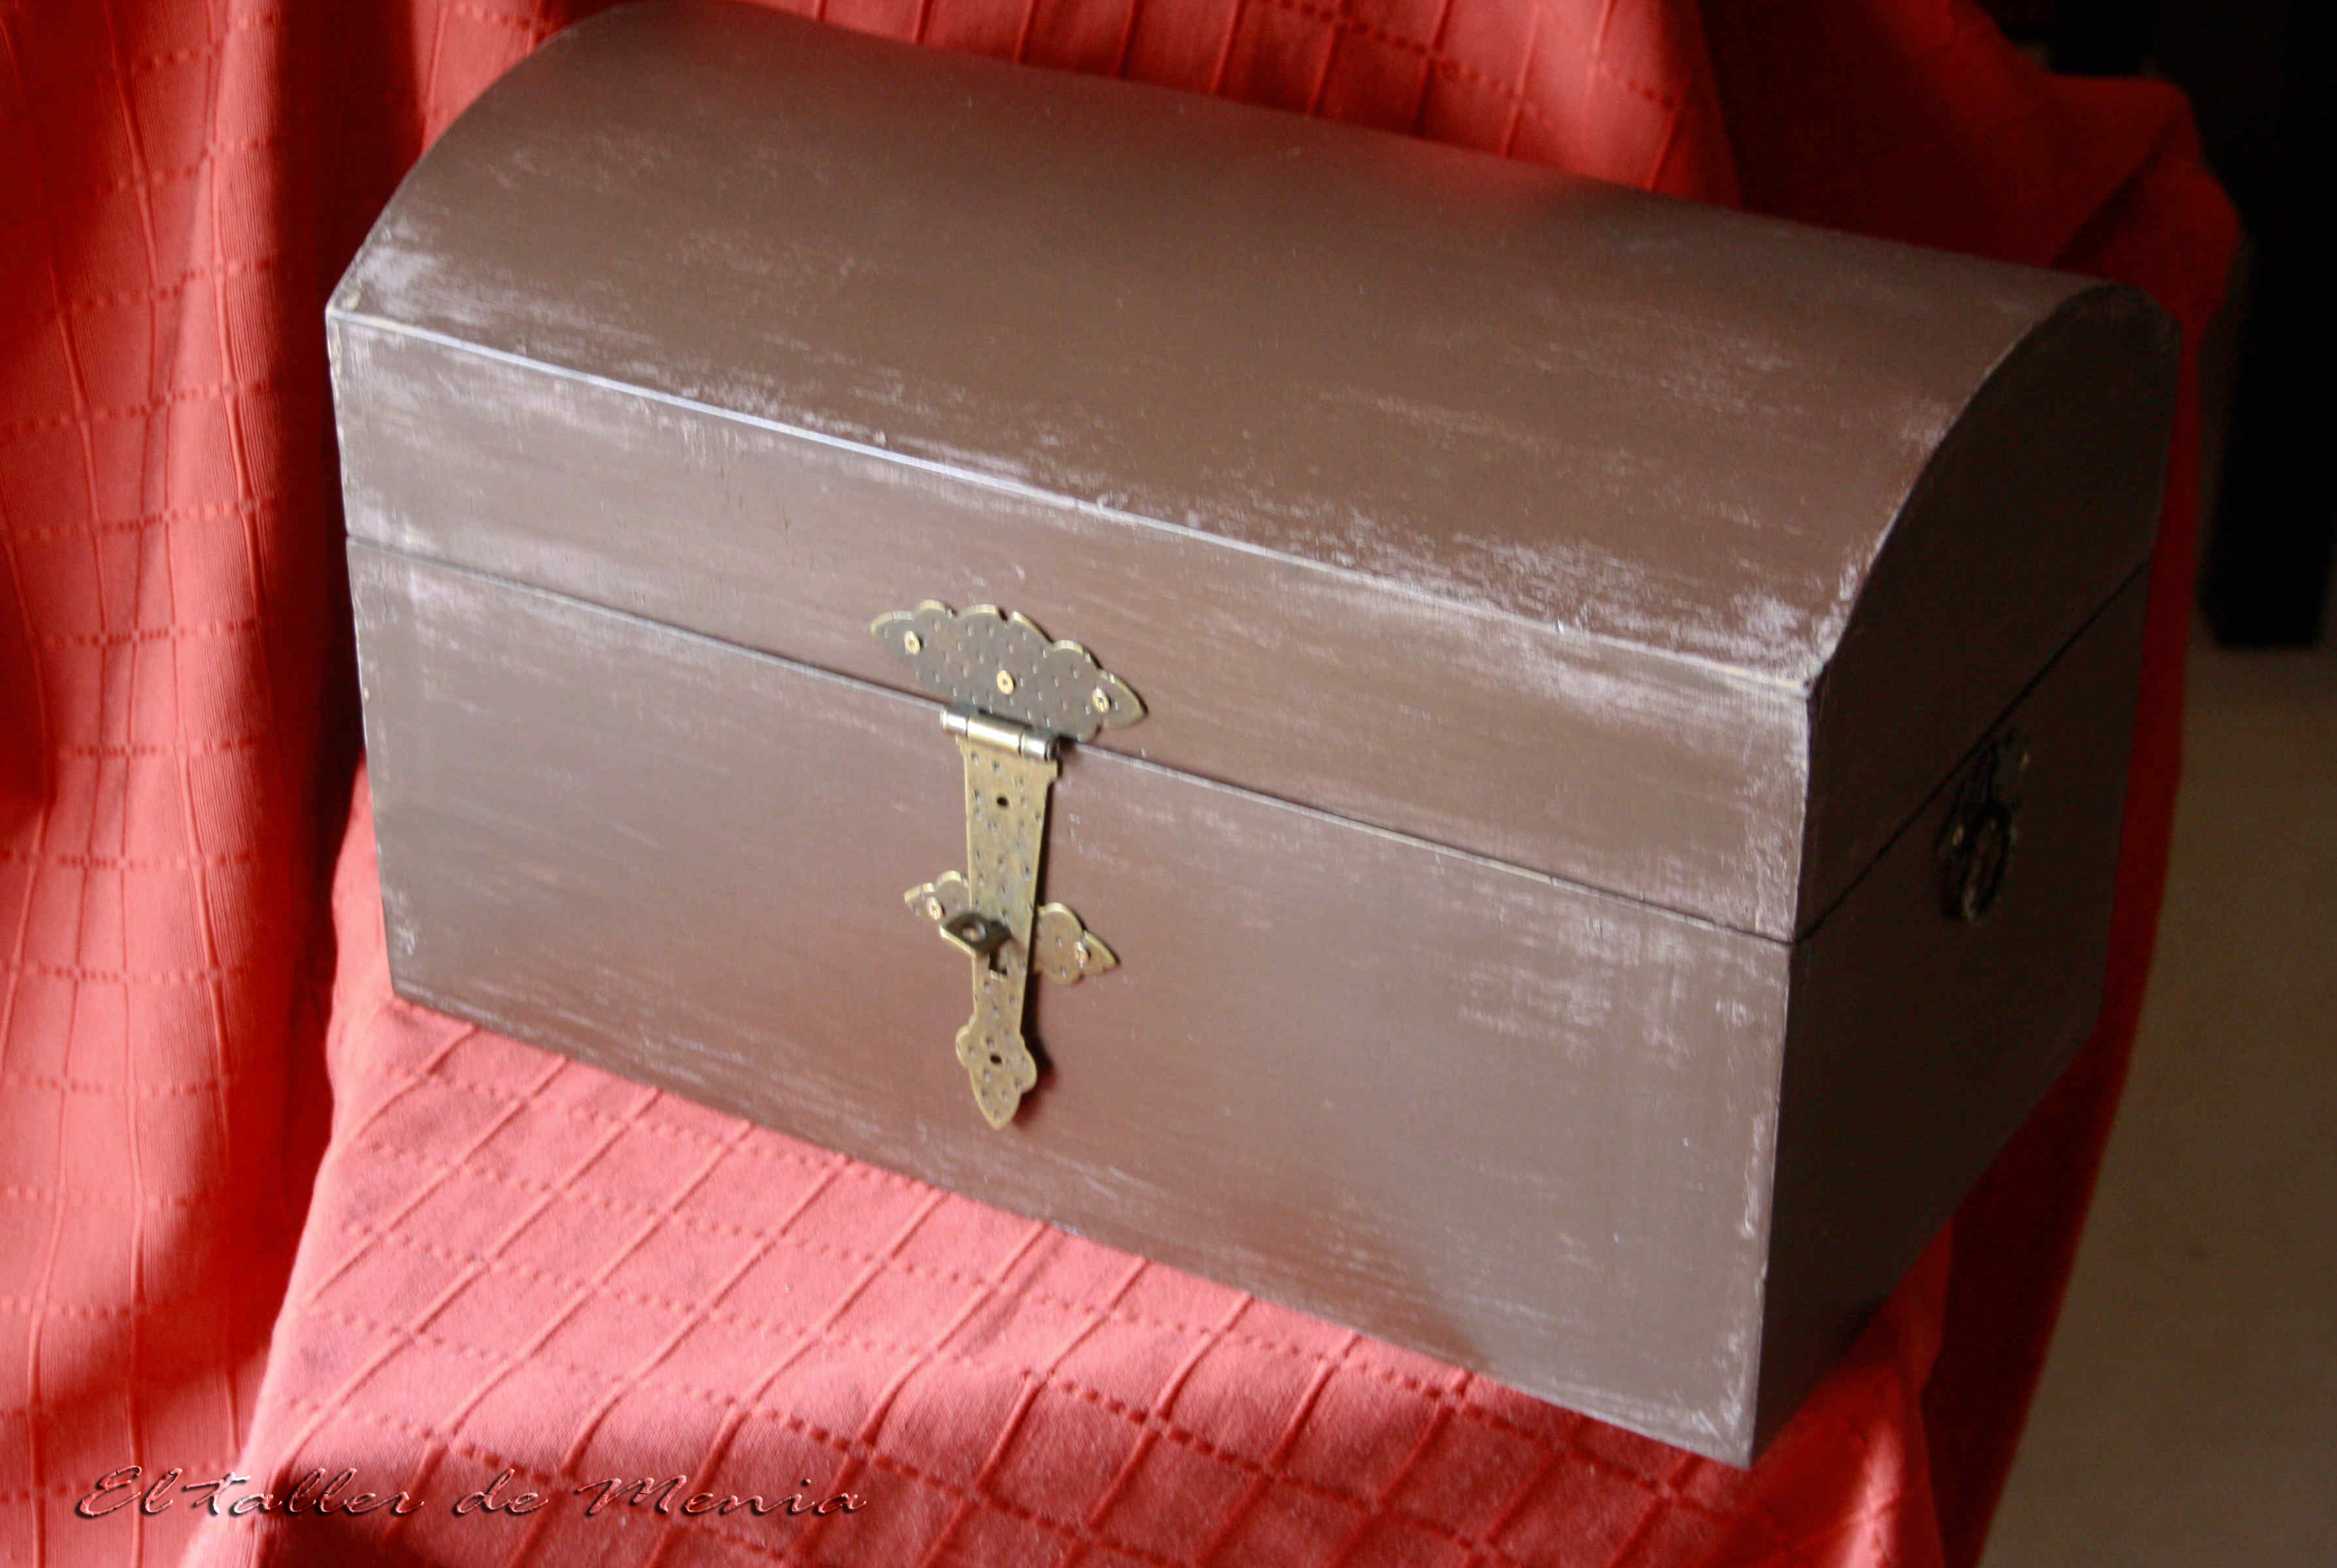
In the first part of this post described how to restore the outside of the trunk, using the technique of the decapé. In this second post we’ll see how we do inside.
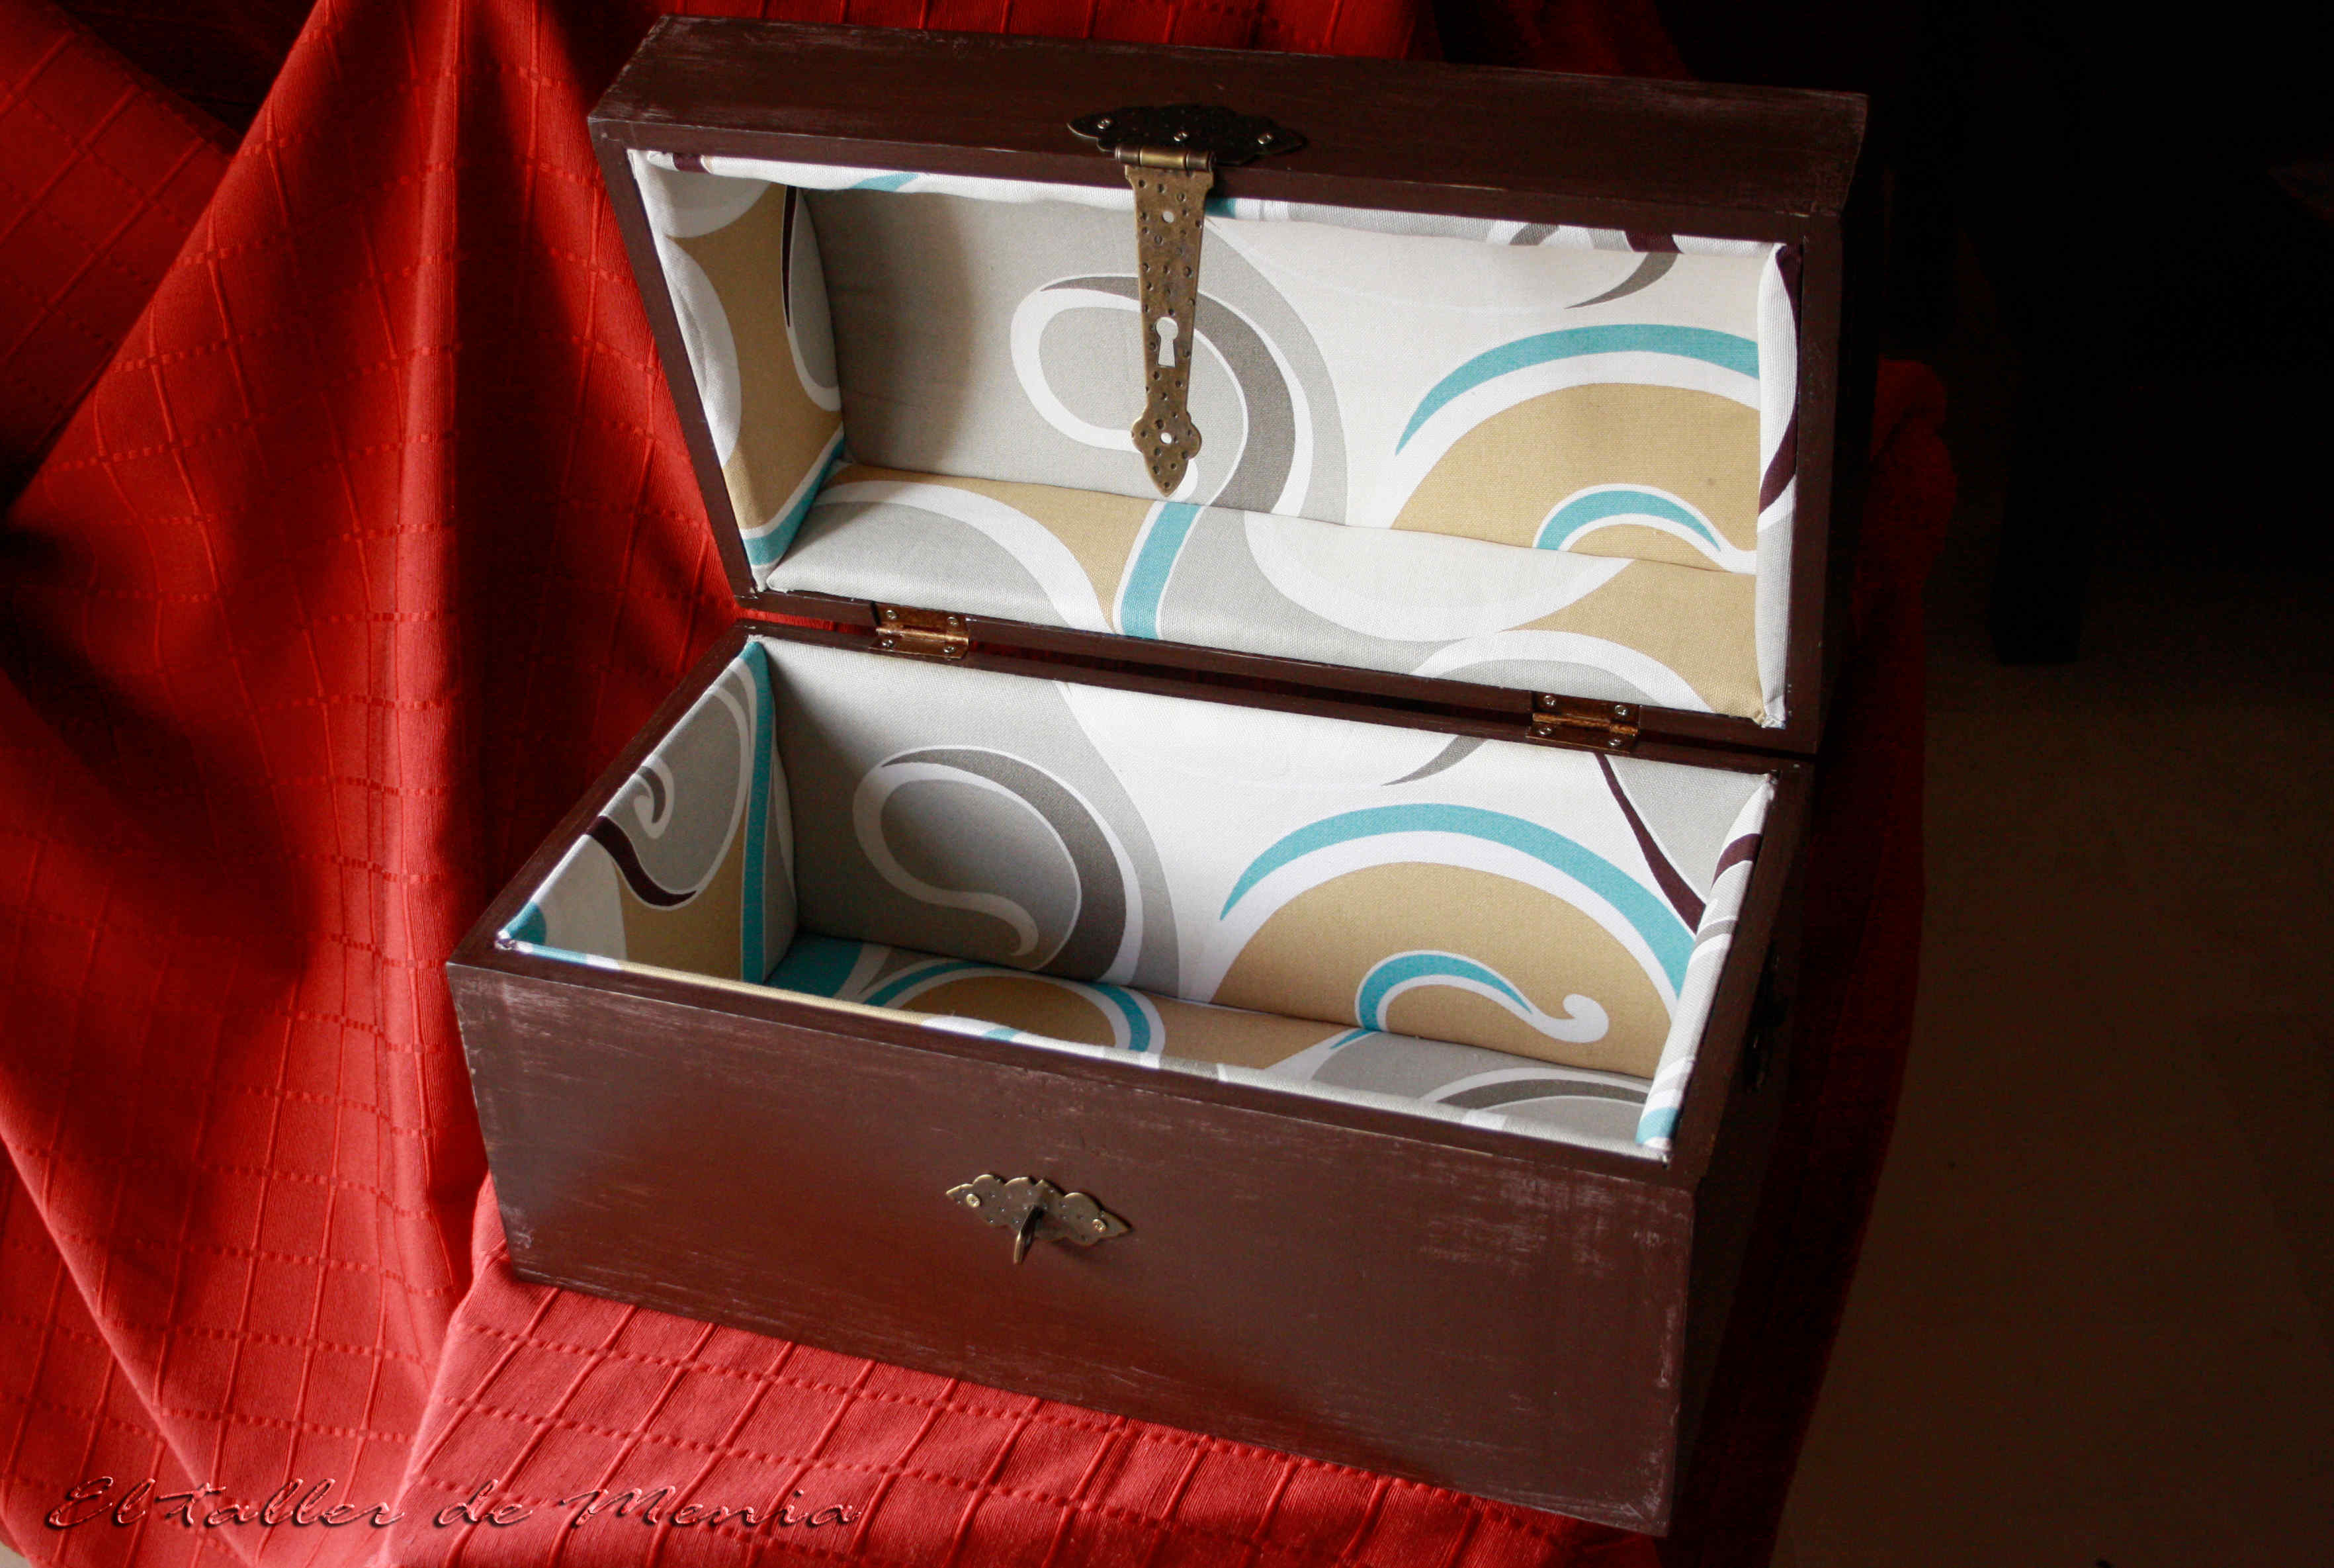
This was a little difficult because I would have liked to cover it with adhesive paper but the walls had many cracks and was not going to look good. I had to think of other finish. At Christmas I saw a sewing kit, handmade, padded and I switched on the light bulb. It was the best option, quilting that pillar could use it as a jeweller.
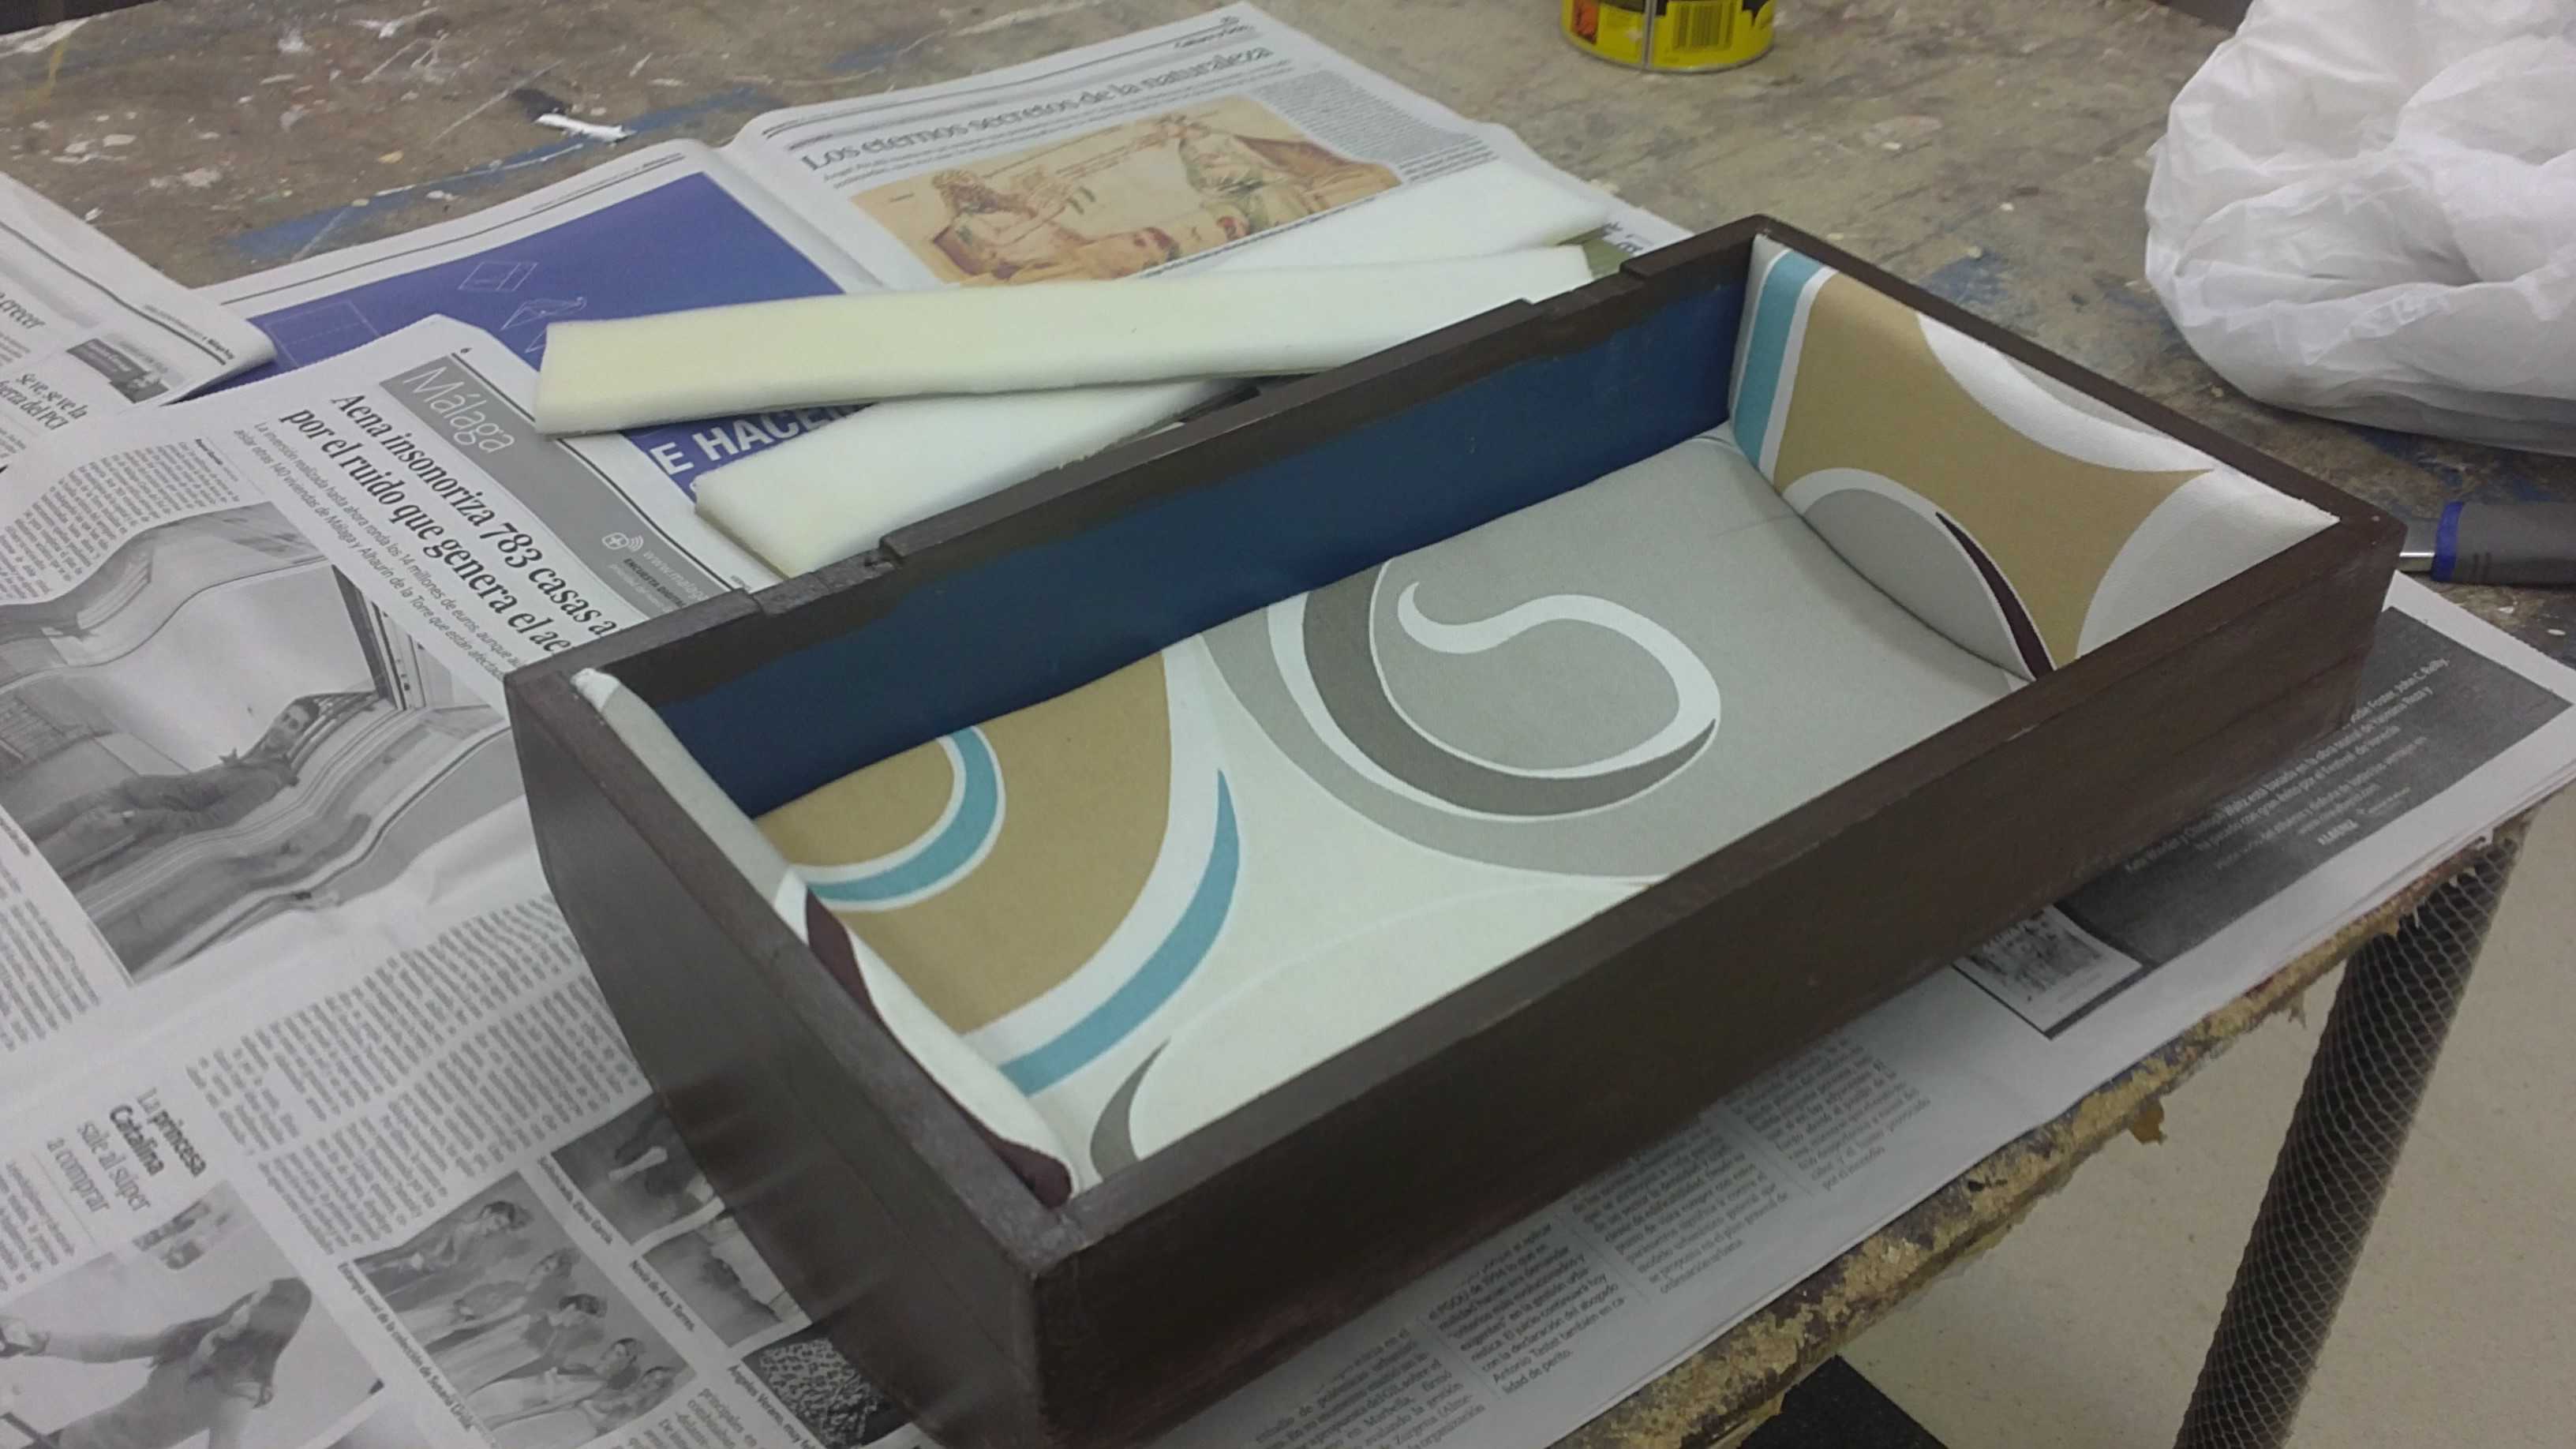
I bought papier-mache and drew the mold from the inside, something that was fairly simple. Later I forré each of the parties, the Fund and the four walls, in the following way:
1.Pegamos the foam to the cardboard with glue of contact and, once dry, lined with fabric sheets. It is a very simple but quite laborious work above all to remove the mould on the lid of the trunk that is arched. What I did was cut the cardboard the size of the lid stone, I humedecí it slightly and mold it to the shape of the lid leaving him a couple of days until it dries.
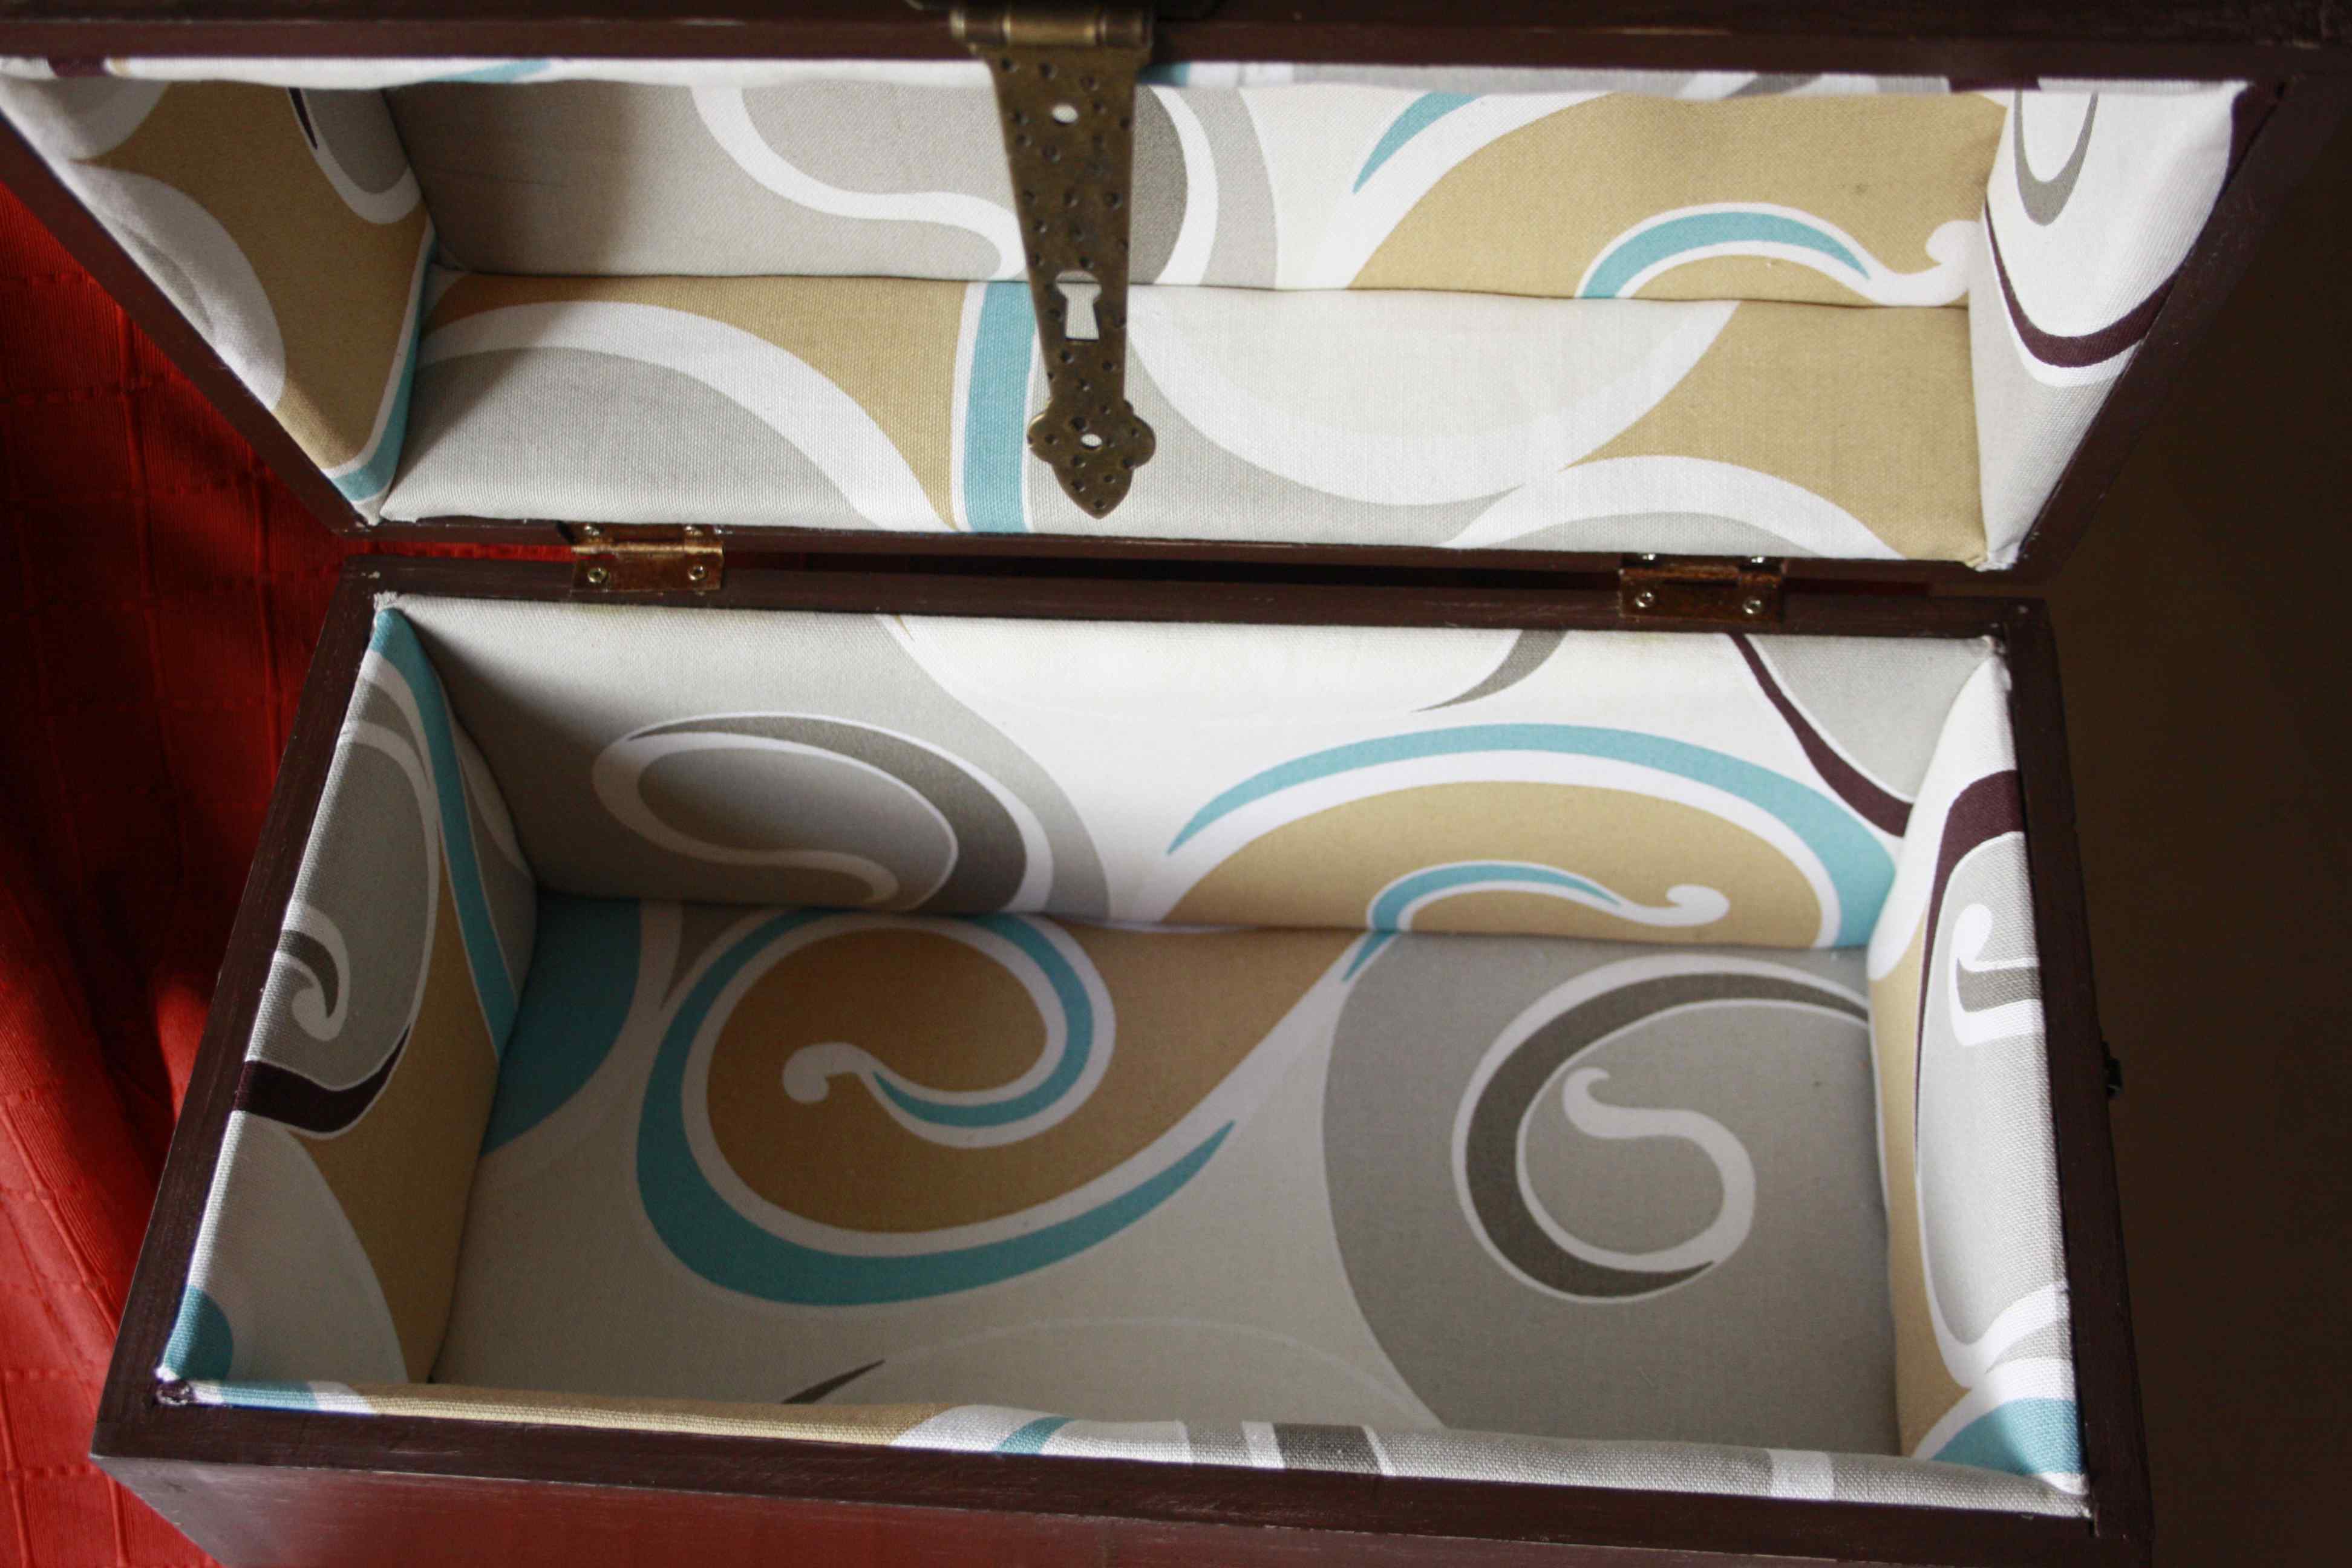
2. After lined all parties, we paste each plate in place and the interior have already ready!
Finally, only we are missing hardware. I went to a little family shop in the neighborhood and bought these hardware color leather, that came you to the finger. They also give a special touch.
Finished work! Now just need to Pilar likes.
 |
 |